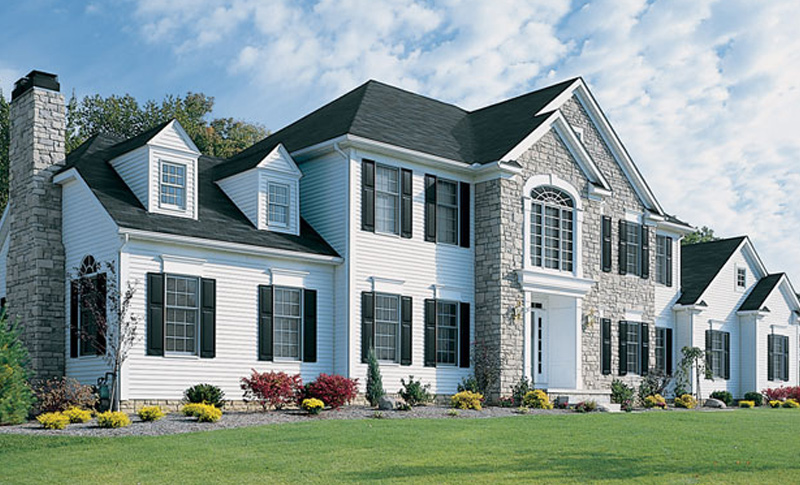
Aluminum siding has been a popular choice for home exteriors since the mid-20th century, thanks to its durability, low maintenance, and resistance to fire and insect damage. However, like any material exposed to the elements, aluminum siding can suffer wear and tear over time. Dents, scratches, corrosion, and faded paint are among the most common issues homeowners face. Fortunately, most aluminum siding repairs can be done by DIY enthusiasts with the right tools, materials, and a clear understanding of the process.
In this guide, we’ll walk you through various aluminum siding repair techniques, from patching small holes to replacing entire sections, restoring your home’s exterior to its former glory.
1. Common Issues with Aluminum Siding
Before jumping into the repair process, it’s essential to understand the typical issues you might encounter with aluminum siding. Some of these include:
- Dents and dings: Aluminum is a soft metal, which means it can be easily dented by hail, stray baseballs, or even ladders leaning against it.
- Corrosion: Over time, aluminum may develop corrosion or oxidation, especially in areas with salty air or high humidity.
- Fading paint: While aluminum siding is known for its durability, the paint can fade due to UV exposure, making your home look weathered.
- Loose or warped panels: Strong winds or poor installation can cause the siding panels to come loose or warp.
- Holes and cracks: Although not common, holes can form due to impacts or long-term wear, allowing moisture and pests to penetrate.
2. Tools and Materials You’ll Need
Get the tools and supplies needed before beginning any repairs. This is a to-do list to get you ready:
Basic Tools:
- Utility knife or tin snips
- Hammer
- Pry bar
- Tape measure
- Drill with metal bits
- Level
- Rubber mallet
- Metal file
- Ladder or scaffolding (for higher repairs)
Materials:
- Replacement aluminum siding panels (if replacing damaged sections)
- Matching paint or primer
- Aluminum patches (for minor holes or dents)
- Sheet metal screws
- Exterior-grade caulk
- Touch-up paint
- Sandpaper (medium and fine grit)
- Weather-resistant adhesive (for patches)
- Painter’s tape
Having all these materials handy ensures that you won’t need to pause mid-repair to fetch anything, making the process smoother.
3. Repairing Dents in Aluminum Siding
Dents are one of the most common problems with aluminum siding. Although they don’t usually affect the performance of the siding, they can detract from the appearance of your home. Here’s how to fix them:
Step-by-Step Dent Repair:
- Determine the extent of the dent: While larger dents could need replacing the panel entirely, smaller dents are frequently simply repaired.
- Set up the space: Clean the damaged area using mild soap and water to eliminate any debris or grime. As a result, the surface will be clean for the repair.
- Prepare the area: Clean the dented area using mild soap and water to remove any dirt or grime. This will ensure a clean surface for repair.
- Use a rubber mallet: For small dents, gently tap around the edges of the dent using a rubber mallet. Start from the outer edge of the dent and work toward the center, pushing the aluminum back into place. Be careful not to hit the siding too hard, as aluminum is a soft metal that can easily warp.
- For deeper dents: If the mallet method doesn’t work, you can use an automotive dent repair kit. These kits come with suction cups or pulling tools to draw the metal back into shape.
- Smooth the surface: Once the dent is removed, use fine-grit sandpaper to smooth the area, ensuring the surface is even. Wipe the area with a damp cloth to remove any dust.
- Repaint the area: If the paint is chipped or scratched during the repair, use matching exterior paint to touch up the surface. Apply primer first if necessary, followed by the paint, ensuring even coverage.
4. Repairing Small Holes and Cracks
Holes and cracks in aluminum siding are rare but can occur from impacts or corrosion. Fixing them is essential to prevent water infiltration, which could lead to mold, mildew, or structural damage.
Step-by-Step Hole/Crack Repair:
- Clean the area: As with dent repair, clean the area around the hole or crack to remove any dirt or debris.
- Sand the edges: Using sandpaper with a medium grit, smooth the borders surrounding the hole or crack. This will guarantee improved patch adherence.
- Apply the aluminum patch: For holes or cracks smaller than 1 inch in diameter, an aluminum patch can be a quick and effective fix. Cut the patch to fit the damaged area, leaving at least a 1-inch overlap around the hole.
- Secure the patch: Use weather-resistant adhesive to attach the patch over the hole. Press firmly to ensure good adhesion. If needed, reinforce with a few sheet metal screws.
- Smooth the edges: Once the patch is applied, sand the edges to ensure it blends with the siding.
- Paint the patch: Apply a layer of primer over the patch, followed by matching paint. This will not only blend the repair with the rest of the siding but also provide additional protection against the elements.
5. Replacing Damaged Aluminum Siding Panels
In some cases, dents, holes, or warping may be too extensive to repair, and the best course of action is to replace the damaged panel. Here’s how to do it:
Step-by-Step Panel Replacement:
- Locate the damaged panel: Identify the section of the siding that needs to be replaced. Make sure you have a matching replacement panel on hand. If your siding is older, finding an exact match might be difficult. In this case, repainting the entire section may be necessary.
- Remove the damaged panel: Start by loosening the nails or screws holding the damaged panel in place. Use a pry bar or a hammer to gently lift the panel from the wall. Be cautious not to damage adjacent panels.
- Cut the replacement panel: Measure the damaged panel and cut your replacement piece to size using tin snips or a utility knife. Be sure to leave enough overlap to fit it into place.
- Install the new panel: Slide the new panel into place, ensuring it interlocks with the surrounding panels. Secure it using sheet metal screws or nails, taking care not to overtighten, which can warp the siding.
- Seal the seams: Apply a bead of exterior-grade caulk along the seams where the new panel meets the existing siding. This will help prevent moisture from getting behind the siding.
- Paint the new panel: If the replacement panel doesn’t match the existing siding color, repaint the new panel to match. If necessary, repaint the entire section of siding for a uniform look.
6. Restoring Faded Aluminum Siding
Over time, aluminum siding can lose its luster due to sun exposure, causing the paint to fade. While this doesn’t affect the functionality of the siding, it can reduce your home’s curb appeal. Fortunately, restoring faded aluminum siding is straightforward.
Step-by-Step Fading Restoration:
- Clean the siding: Use a pressure washer or a soft brush with soapy water to clean the entire surface of the siding. This removes dirt, mildew, and chalking (the powdery residue from aging paint).
- Sand the surface: If the paint is flaking or peeling, use medium-grit sandpaper to remove the loose paint. Be careful not to sand too aggressively, as aluminum is soft and can be damaged.
- Apply primer: Once the surface is clean and smooth, apply a coat of exterior-grade metal primer. This will help the new paint adhere to the aluminum and provide long-lasting protection.
- Repaint the siding: Choose high-quality exterior paint that’s designed for metal surfaces. Use a paint sprayer for large areas, or a roller and brush for smaller sections. Apply two coats for the best coverage and durability.
- Finish with a protective coat: For added protection against future fading, you can apply a clear UV-resistant sealant over the painted surface.
7. Preventive Maintenance Tips for Aluminum Siding
To minimize the need for frequent repairs and keep your aluminum siding looking its best, follow these preventive maintenance tips:
- Inspect your siding regularly: At least once a year, check for dents, cracks, or loose panels. Early detection of problems can prevent more extensive damage later.
- Clean your siding: Regularly wash your siding with a garden hose or pressure washer to remove dirt, grime, and mildew. Avoid using harsh chemicals that could damage the paint or aluminum.
- Touch up paint when necessary: If you notice any areas where the paint is chipped or scratched, touch them up promptly to prevent corrosion or further damage.
- Trim nearby trees and shrubs: Overhanging branches can scrape against the siding, causing scratches or dents. Keeping trees and shrubs trimmed reduces this risk.
- Check for loose panels: After storms or high winds, check for any loose or warped panels and secure them as needed to prevent further damage.
Conclusion
Repairing aluminum siding is a practical and cost-effective way to maintain your home’s exterior without needing a complete replacement. By addressing common issues like dents, holes, and fading paint, you can extend the life of your siding and keep your home looking fresh. With the right tools, materials, and a little DIY spirit, most homeowners can handle aluminum siding repairs on their own, saving time and money while ensuring the continued protection of their home from the elements.